Leveraging a free AI photo generator allows creators, small business owners, and bloggers to produce professional-grade visual content on demand without needing traditional graphic design skills or paid software subscriptions. These browser-accessible tools interpret natural language text prompts to synthesize unique photographs, illustrations, and digital art within seconds, effectively removing the technical and financial barriers that previously kept high-end imagery out of reach for solo entrepreneurs.
Picture staring at a blank screen at midnight, needing a striking hero image for a blog post, but your design budget is zero and your Photoshop skills extend to basic cropping. That was my exact frustration years ago before I learned how to talk to diffusion models instead of fighting them. The transformation happens the moment you stop viewing the software as a slot machine where you pull a lever and hope for the best. Instead, you begin treating it like a talented, hyper-obedient digital artist who takes your exact instructions literally.
Free AI Photo Generator: Definition, Benefits, and How It Works
At its core, a free AI photo generator is a machine learning system trained on billions of image-text pairs that can paint or photograph anything you describe in plain English. Platforms like Leonardo AI, Playground AI, or Bing Image Creator let anyone access these powerful models through a simple web browser without requiring a high-end graphics card. Practitioners rely on these tools daily to draft marketing banners, conceptualize product packaging, and illustrate articles without paying steep monthly licensing fees.
Additional Information
Understanding the underlying mechanics helps you stop guessing and start predicting what the software will output. When you type a description, the model starts with a canvas of pure static noise and gradually removes that noise over dozens of computational steps, guided entirely by your text. This means every single word in your prompt acts as a gravitational pull, dragging the random pixels toward your intended concept.
The primary benefit here is speed paired with infinite variation, which completely changes how solo creators build digital assets. If you need a picture of a vintage leather journal sitting on a rustic wooden desk bathed in morning sunlight, you can generate five distinct options in under sixty seconds. When building out content clusters for sites like Profiteraai.com, having this kind of visual autonomy speeds up publishing workflows tremendously. For systematic SEO work, pairing these generated visuals with structured content frameworks—similar to the principles found in the AutoSEO guide—allows you to scale organic traffic much faster.
Yet, free tiers do come with trade-offs you need to manage. Most platforms limit your daily generation credits, place watermarks on outputs, or place your requests in a slower processing queue during peak hours. Knowing these limitations prevents frustration when your afternoon creative session hits a sudden generation cap.
How to Write Prompts That Actually Work (Instead of Random Guessing)
Writing a great prompt requires abandoning poetic metaphors and adopting the mindset of a film director giving explicit instructions to a cinematographer. AI models don’t understand abstract feelings like “make it look inspiring” or “give it good vibes.” They respond to concrete nouns, specific lighting conditions, camera angles, and recognizable artistic mediums.
In practice, a reliable prompt formula follows a simple structural hierarchy: Subject plus Medium plus Lighting plus Composition. Let’s look at a concrete real-world scenario. Instead of typing a vague phrase like “successful remote worker,” try building a descriptive stack: A candid photograph of a focused woman in her 30s typing on a laptop at a bright wooden kitchen table, soft morning window light, 35mm lens, shallow depth of field, photorealistic.
Why does this level of detail matter so much? Because every descriptive anchor narrows the probability distribution of the final image, stopping the AI from guessing wildly and giving you a generic stock photo look. If you leave out the camera lens specification, the model might output a flat, over-lit graphic instead of an authentic portrait with natural background blur. Experienced creators often keep a running text document of their best-performing modifiers, swapping out subjects while keeping the proven lighting and camera setups intact.
- Subject: Define the main focus clearly (person, object, animal) with specific clothing, age, or material details.
- Environment: Describe the background setting to anchor your subject in a realistic space.
- Lighting: Specify the light source (golden hour, studio softbox, harsh neon) to set the mood.
- Camera & Style: Mention photographic terms (macro shot, wide angle) or art styles (oil painting, 3D render) to guide the final aesthetic.
Difference Between Midjourney, Stable Diffusion, and Free Web-Based Generators: Which One Is Right for You?
Choosing the right platform changes everything. When I first started testing these tools, I jumped between every available software, and honestly, the sheer number of options can cause massive overwhelm. You don’t need a powerful computer to run a cloud-based free ai photo generator, but if you want granular control, your local hardware matters immensely. Let’s break down how the major heavyweights actually compare in daily use.
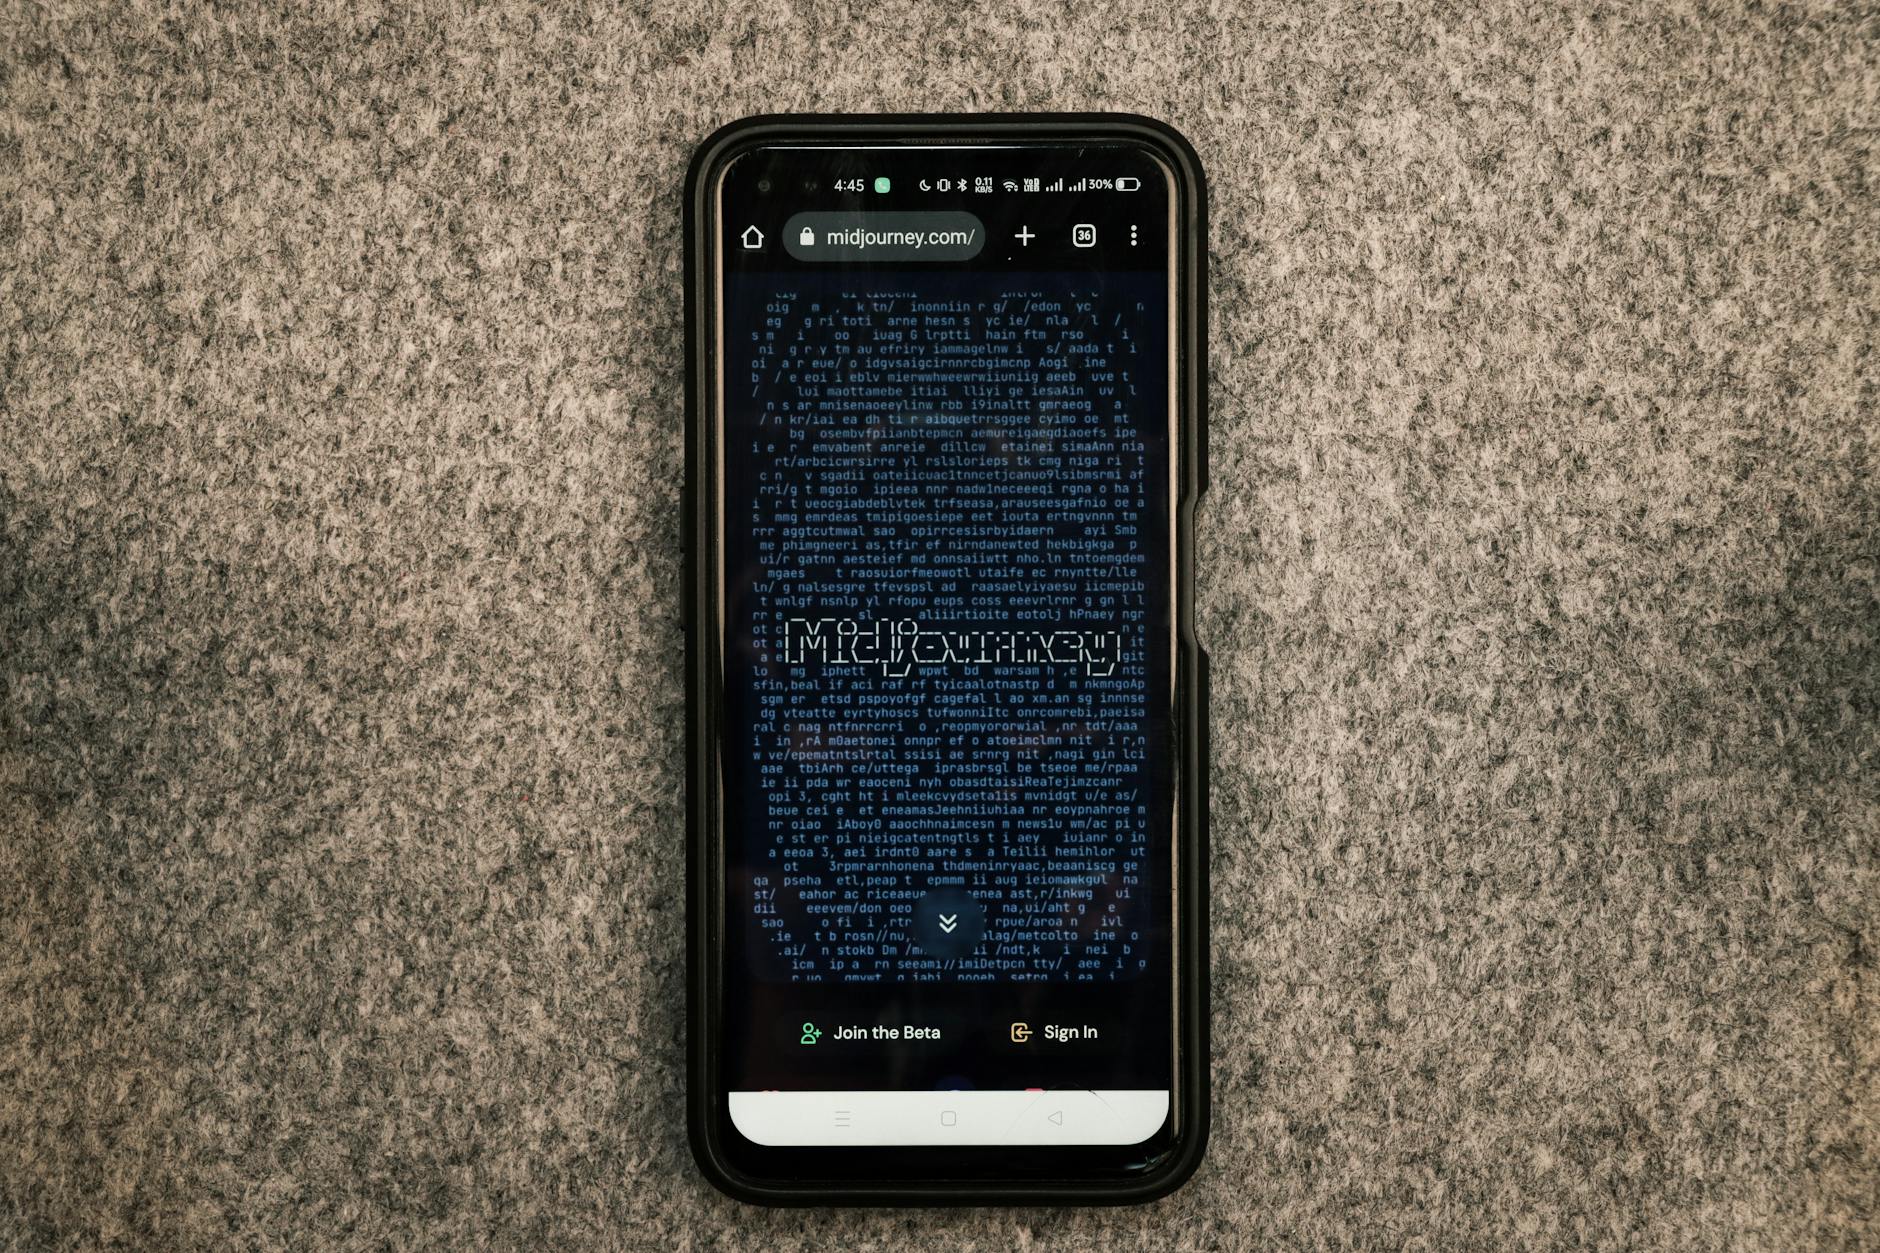
Midjourney sits behind a paid wall now, but it remains the gold standard for pure aesthetic output. It reads artistic nuance better than almost anything else. If you need moody cinematic lighting or painterly textures without typing a paragraph of modifiers, it delivers stunning results right out of the box. The catch is that you must use it through Discord, which feels a bit clunky until you get used to the command structure.
Stable Diffusion takes the exact opposite approach. It’s completely open-source and runs locally on your own machine if you have a dedicated graphics card with enough VRAM. This gives you absolute freedom to train custom models, add extensions, and bypass content filters entirely. However, the learning curve is steep. You will spend hours installing dependencies, tweaking settings, and occasionally wrestling with bizarre anatomy—especially the infamous ai drawing hands issue that plagues almost every open-source model configuration until you apply specific negative prompts.
Web-based free options like Leonardo AI, BlueWillow, or Bing Image Creator bridge the gap for everyday creators. They require zero technical setup and live right in your browser. You get generous daily token allotments to test your ideas without paying a cent. While you trade away some of the deep customization found in local installations, these browsers tools are fast, intuitive, and surprisingly capable for blog headers, social media graphics, and mood boards.
Common Prompting Mistakes and How to Avoid Even Starting Them
We’ve all typed a quick phrase into a generator and stared in horror at a mutant creature with extra fingers. That frustration usually stems from a few hidden habits that confuse the neural network. Understanding these pitfalls saves you time and endless credits.
- Overcrowding the prompt: Cramming twenty stylistic buzzwords like “hyperrealistic 8k octane unreal engine masterpiece” into a single sentence usually makes the image muddy. The algorithm gets confused by competing instructions. Stick to three or four strong descriptive anchors instead.
- Ignoring negative prompts: If your tool allows a negative prompt box, use it wisely. Telling the generator what you don’t want is just as powerful as describing the subject. This is particularly crucial when you want to minimize structural errors like distorted ai drawing hands in character portraits.
- Relying on buzzwords over specifics: Saying “beautiful lighting” is too vague for the AI to interpret consistently. Instead, describe the actual physics of the light. Try “soft overcast daylight” or “harsh neon backlighting” to give the model concrete data to render.
Another classic trap is fighting the AI’s natural tendencies instead of working with them. If a model insists on rendering a specific art style because of its default training data, adding explicit counter-modifiers often creates visual artifacts. Learn what your chosen tool does best and steer your concepts toward its natural strengths. Flexibility leads to much better final outputs.
Also Read: Get Rich Fast Online How to Wealth Get Rich Fast: A Practical Guide
Practical Tips From Experienced Practitioners for Getting Consistent Results
Consistency separates hobbyists from professional creators who use these tools for client work. When I need to generate a series of images for a brand campaign, random guessing simply won’t cut it. You need a reliable workflow that locks down your character’s appearance and the overall environment across multiple generations.
First, keep a master document of your favorite seed numbers and successful prompt structures. A seed number acts like a genetic blueprint for the image generation process, allowing you to replicate a specific style or composition while changing minor details. Second, embrace the iterative refinement loop. Never accept the first output; instead, take a strong composition and upscale it, or use the image-to-image feature to feed a successful draft back into the system with a slightly tweaked prompt.
Pay close attention to aspect ratios before you hit generate. If you need a wide banner for a website header, set the dimensions in the tool settings immediately rather than cropping a square image later. Cropping after the fact often ruins the composition and forces awkward framing on your focal point. Small adjustments like these compound over time, turning a frustrating trial-and-error session into a streamlined creative process.
Frequently Asked Questions about Free AI Photo Generators
What is a free AI photo generator?
A free AI photo generator is a web-based or open-source software tool that creates original images from text descriptions without requiring a paid subscription. These platforms rely on machine learning models trained on billions of public images, allowing users to type a prompt and receive custom visuals within seconds. While many advanced platforms charge for heavy usage, options like BlueWillow, Leonardo.ai, or the free tiers of commercial apps provide robust access points for beginners.
How do you use a free AI photo generator effectively?
To get usable results from a free AI photo generator, you need to structure your prompts with a clear subject, specific lighting, and an artistic medium. Instead of typing a single vague word, describe the scene as if you are briefing a human photographer or illustrator. Practitioners recommend starting with a simple core concept, analyzing the output, and then adding descriptive modifiers like “soft window light” or “cinematic framing” in your next generation.
Are the images created by free AI generators safe for commercial use?
Commercial rights depend entirely on the specific terms of service of the platform you choose and whether you are using their free or paid tier. Some platforms grant full commercial ownership even on free plans, while others restrict free-tier outputs to personal, non-commercial projects. Always check the licensing agreement of the specific tool before using generated assets in client work, merchandise, or marketing campaigns.
Is a free AI photo generator better than hiring a stock photographer?
Free AI tools offer unmatched speed and customizability for niche concepts that traditional stock libraries simply do not carry. If you need a hyper-specific image—like a neon-lit cyberpunk kitchen with a ginger cat—an AI generator delivers it in moments for zero cost. However, stock photography remains superior for capturing genuine human emotion, corporate authenticity, or real-world events that algorithms cannot accurately simulate.
How can I avoid getting blurry or deformed hands in my AI images?
Anatomy issues usually happen because the AI model is trying to interpret too many complex limbs in a cramped space without enough prompt guidance. You can fix this by adding negative prompts like “bad anatomy” or “deformed hands” if the platform supports them, or by zooming out to make hands a smaller part of the overall composition. Alternatively, you can simply crop the image or generate a new variation using the same seed number until the anatomy resolves correctly.
Do I need any technical design skills to use these tools?
Zero design experience is required because the algorithm handles all the pixel rendering, lighting calculations, and texture mapping for you. Your primary job is simply communicating your vision through descriptive language rather than wielding a digital paintbrush. If you can write a clear sentence describing a scene, you have all the skills necessary to start building a professional visual library today.
Common Mistakes to Avoid
Most people rush into using a free ai photo generator, type a single word like “sunset,” and walk away disappointed by a blurry, generic mess. Crafting useful visuals takes a bit of strategy. Let’s look at the missteps that trip up beginners and how to fix them immediately.
- Overloading the prompt with clashing styles: Writing phrases like “hyperrealistic vintage cyberpunk watercolor photo” tells the algorithm to chase four different directions at once. The AI usually responds by smearing those concepts together into an incoherent visual sludge. Keep your stylistic tags focused on one clear look per image.
- Ignoring aspect ratios: Leaving the canvas at its default square setting when you actually need a YouTube thumbnail or a smartphone wallpaper causes headaches later. You end up with awkwardly cropped subjects that lose their impact when resized. Always select your target dimensions before hitting generate.
- Treating the AI like a Google search bar: Typing “give me a picture of a coffee shop” feels natural, but algorithms don’t respond well to conversational filler. Instead of asking the tool for things, paint a sensory picture with nouns and adjectives. Try “warm morning sunlight filtering through rain-streaked cafe windows, steam rising from a ceramic mug on a rustic wooden table.”
- Expecting perfection on the very first try: Deleting a tool after one weird output is a classic rookie error. Professional visual artists run dozens of variations, tweaking a single word each time to dial in the lighting or composition. Treat your first render as a rough sketch, not a finished masterpiece.
Advanced Tips From Practitioners
Once you move past the basics, you’ll want your outputs to stop looking like stock photos and start matching your specific brand aesthetic. Experienced creators use a few quiet workarounds to bend these models to their exact will.
Weight your keywords carefully. Most users don’t realize that words placed near the front of a prompt carry heavier mathematical weight in the rendering engine than words buried at the end. If the subject of your image keeps getting lost in the background scenery, drag the main subject description straight to the opening words of your text box.
Build your own personal prompt library in a simple notes app. When you stumble on a combination of lighting terms or texture descriptors that yields gorgeous results, save it. Consistency is notoriously difficult with a free ai photo generator because the models update frequently. Having a repository of tested phrasing saves you from reinventing the wheel every time you need a new batch of visuals for a blog post or social feed.
Lighting direction matters far more than naming a specific camera model. Instead of telling the tool to mimic a high-end DSLR, describe where the light source sits in your imaginary room. Phrases like “dramatic side lighting casting long shadows” or “soft ambient glow from an off-screen fireplace” force the rendering engine to calculate realistic depth and contrast, which instantly fools the human eye into seeing a professional photograph.
References & Sources

profiteraai writes for Profiteraai.com, sharing field-tested insights and practical, hands-on guides based on real experience rather than theory.